
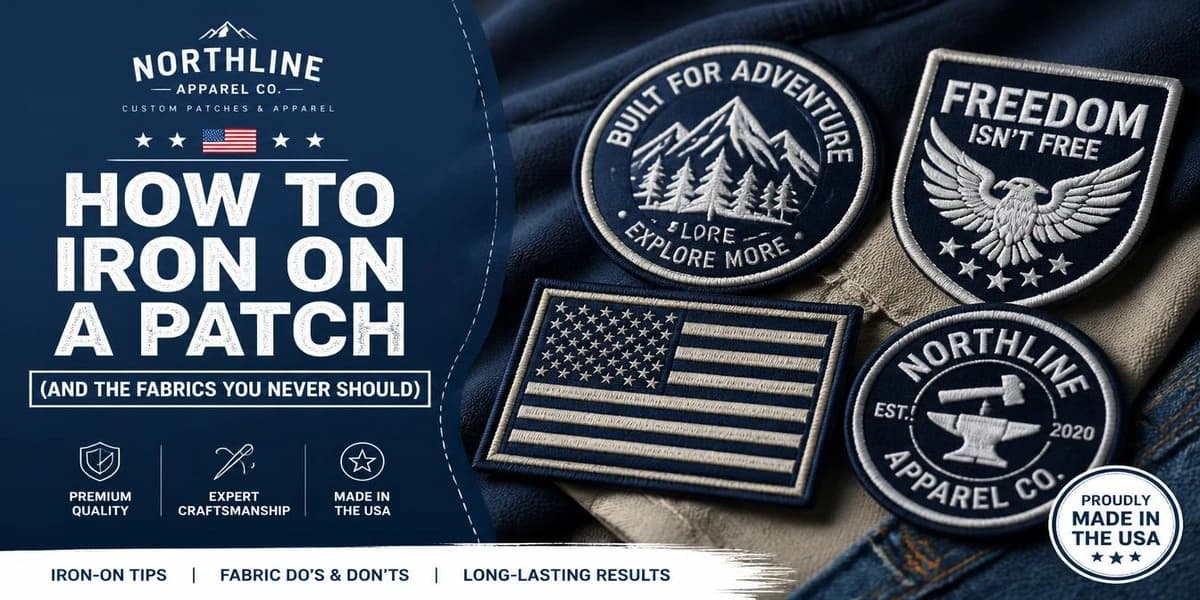
Most iron-on patches that fail were applied in under fifteen seconds, with a steam iron, on a padded ironing board. All three of those are mistakes. Done properly, a heat-seal patch survives years of wear and regular washing. Done in a hurry, it lifts at a corner within a month.
Here is the method that works, and the cases where no method works and you should be sewing instead.
What you need
- A dry iron — steam interferes with the adhesive, so the water tank should be empty or the steam setting off
- A hard, flat surface. A table with a towel on it, not an ironing board
- A thin cotton cloth or a sheet of baking paper as a press cloth
- Five minutes, including cooling time
The seven steps
1. Check the fabric first. Cotton, denim, canvas, and polycotton all take heat seal well. If your garment is leather, vinyl, nylon, or a waterproof technical shell, stop here and read the section further down — ironing will damage it.
2. Preheat the garment. Press the spot where the patch will go for about ten seconds. This drives out moisture and flattens the weave, which gives the adhesive a cleaner surface to bond to.
3. Position the patch. Take longer over this than feels necessary. Once the adhesive sets you are not moving it without damaging something. Try the garment on, or lay it flat and measure from a seam — chest patches usually sit about 7 to 10cm below the shoulder seam, centred over the pocket.
4. Cover it. Lay your press cloth or baking paper over the patch. Never put a hot iron directly on embroidery. The thread will flatten, and on synthetic threads it can scorch.
5. Press hard, and do not move. Set the iron to its cotton setting. Push down with real weight — more than feels polite — and hold for 30 to 45 seconds. Do not slide the iron around as you would when ironing a shirt. Sliding is the single most common reason patches fail: it shifts the patch a fraction while the adhesive is molten and leaves it bonded to nothing.
6. Press from the back. Turn the garment inside out and press the same spot from the reverse for another 20 seconds. This is the step most people skip, and it is what pushes the adhesive properly into the weave from the other side.
7. Let it cool completely. The bond forms as it cools, not while it is hot. Leave it for at least ten minutes and do not pick at the edge to test it. Picking at the edge while it is warm is how you find out it has not worked, by making sure it does not.
Why patches lift at the corners
Almost always one of three things.
Not enough pressure. Resting an iron on a patch is not the same as pressing it. The adhesive needs to be forced into the fibres, and body weight through your forearm is roughly the right amount.
Steam. Water vapour between the adhesive and the fabric stops the bond forming. If your iron has a tank, empty it.
A soft surface. An ironing board has give in it. The board absorbs the pressure you are applying instead of transferring it to the patch. A table with a folded towel on top gives you a firm base.
If a corner has already lifted, you can usually rescue it. Press the lifted section again with a cloth over it, hold firm for 30 seconds, and let it cool fully. If it lifts a second time, the fabric is not holding the adhesive well and stitching is the honest answer.
The fabrics that will never work
Heat seal needs two things: a fabric that survives iron temperature, and a weave the adhesive can grip. Four common materials fail one or both.
Leather. The temperature required to activate the adhesive will mark, shrink, or glaze the hide, and the adhesive does not bond to leather anyway. Every patch on a leather vest or jacket is stitched. There is no shortcut here.
Nylon and technical shells. These melt at around the temperature an iron reaches on its cotton setting. You will put a hole in the jacket before the patch has bonded.
Waterproof and waxed fabrics. The coating that keeps water out also keeps adhesive out. Nothing bonds to it. Stitching is possible but punches holes through the waterproof membrane, which is why velcro backing is usually the right answer on outdoor jackets — the loop side attaches once, and the patch comes on and off after that.
Anything washed hot and often. Chef whites, workwear, and sports kit that goes through a 60 degree wash every week will eventually lift a heat-sealed patch. The bond is not designed for that cycle repeated hundreds of times.
When to iron and sew
For anything over about four inches, or any garment that gets hard wear, the reliable approach is both. Iron the patch on to lock its position, then stitch around the edge. The adhesive acts as a pin so nothing shifts while you sew, and the stitching provides the permanence.
This is standard on back patches, which are simply too heavy for adhesive alone — the weight of the stitching pulls at the corners and they lift first. It is also worth doing on any patch that sits on a sleeve, where constant flexing at the elbow works away at the bond.
Use a thread that matches the patch border rather than the garment, so the stitches disappear into the edge. A running stitch about 3mm in from the edge is enough for most patches.
Washing a garment with an iron-on patch
Turn it inside out. Wash at 30 to 40 degrees. Skip the tumble dryer where you can — hot drying is harder on the bond than washing is, and line drying will noticeably extend the life of the patch. Avoid bleach, which attacks the twill base faster than it attacks the thread.
If the garment needs ironing afterwards, press it from the reverse side. Never run a hot iron directly over the face of the patch once it is on.
Not sure which backing you need?
Backing choice depends almost entirely on what the patch is going on. If you tell us the garment and where the patch will sit, we will specify it for you — heat seal for cotton and denim, sew-on for leather and heavy wear, velcro for anything that needs to come off again.
Every order comes with a free digital proof before we produce anything, so you see exactly what you are getting first.