
How to Iron On Patches Without Damaging Fabric (2026 Guide)
Custom Patch House13 min read
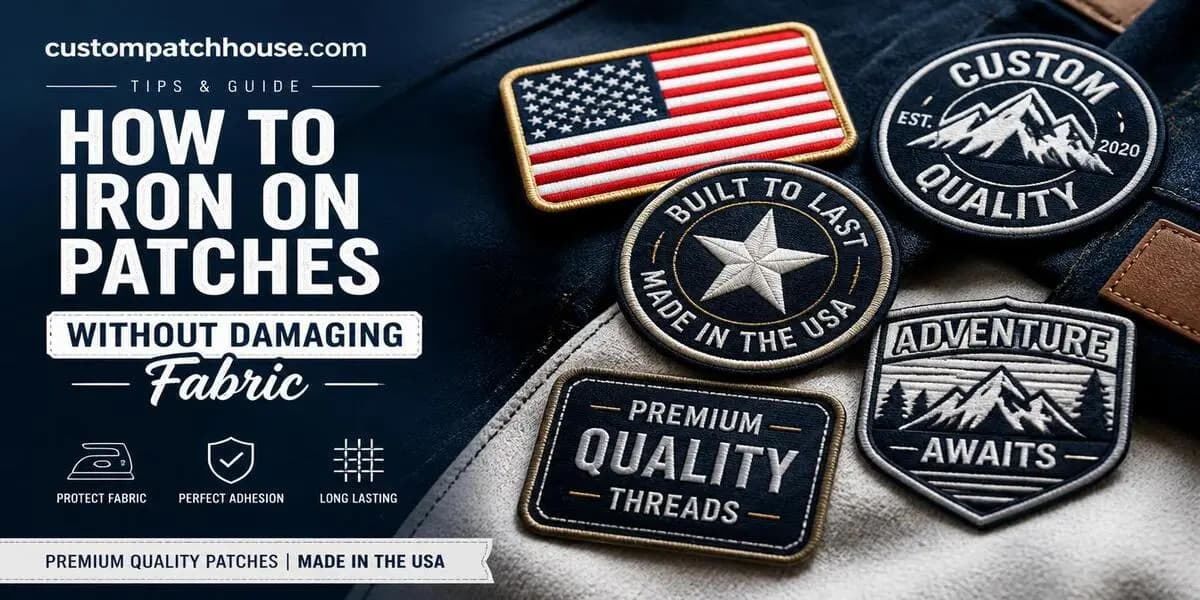
A good patch can turn a plain denim jacket, backpack, or team uniform into something that feels truly yours. But one wrong move with the iron can leave you with a shiny scorch mark, melted polyester, or a patch that peels off after the first wash.
The good news is that damage is almost always preventable. As patch makers, we’ve seen just about every application mistake, and nearly all of them come down to three things: too much heat for the fabric, too little time under the iron, or skipping the cool-down. This guide walks you through the right way to do it, with exact temperatures, press times, and fabric-specific tips so your patch looks great and stays put for years.
Quick Answer: How to Iron On a Patch Safely
Set your iron to the highest temperature your fabric can handle, with steam off. Place the patch, cover it with parchment paper or a thin cotton cloth, and press straight down with firm pressure for 20 to 30 seconds without sliding the iron. Flip the garment inside out and press the back of the patch area for another 20 to 30 seconds. Let it cool completely before touching the edges, and wait 24 hours before washing.
First, Check What Kind of Patch You Have
Before you plug in the iron, make sure your patch is actually designed to be ironed. This step gets skipped constantly, and it’s the reason many patches either won’t stick or get ruined.
Embroidered patches with heat-seal backing are the classic iron-on patch. The back has a smooth, slightly shiny or plasticky layer of heat-activated adhesive. These are made for ironing.
Woven patches are thinner and flatter than embroidered ones. If they have an iron-on backing, they bond quickly and usually need slightly less time.
Chenille patches are thick and fuzzy, like the letters on a varsity jacket. Heat takes longer to travel through them, so pressing from the back of the garment is especially important.
Printed or sublimated patches are usually polyester-based. They can be ironed, but use moderate heat to keep the printed surface from going glossy.
PVC and rubber patches should never be ironed. Heat will warp or melt them. Sew them on or use a hook-and-loop (Velcro) backing instead.
Leather and faux leather patches usually aren’t heat-seal compatible either. Sew or glue them.
If the back of your patch is plain fabric with no adhesive layer, it’s a sew-on patch. Ironing it will do nothing except risk your garment.
What You’ll Need
You don’t need special equipment. A regular household iron works perfectly for most projects. Gather these before you start:
A clean, dry iron with the steam function turned off and the water reservoir emptied. Leftover water can still drip or steam and weaken the bond.
A hard, flat surface. A sturdy table or countertop covered with a folded towel gives better pressure than a wobbly ironing board.
A pressing cloth. Parchment paper, a Teflon pressing sheet, or a thin cotton pillowcase or handkerchief all work. This is your main defense against scorching. (Don’t use wax paper, since the wax can melt onto your fabric.)
Pins or heat-resistant tape to hold the patch in place.
Needle and thread (optional) for extra security on high-wear items.
Iron Temperature Guide by Fabric
The single biggest cause of fabric damage is using cotton-level heat on a synthetic fabric. Use this chart as your starting point, and always check the garment’s care label first.
Fabric | Iron Setting | Approx. Temp | Press Time (each side) | Notes |
Cotton | High (Cotton) | 400°F | 20–30 sec | The easiest fabric for patches |
Denim | High (Cotton/Linen) | 400–445°F | 30–45 sec | Thick; press the back longer |
Canvas | High | 400°F | 30–40 sec | Great for bags and totes |
Cotton/poly blend | Medium-high | 325–350°F | 25–30 sec | Use a pressing cloth |
Polyester | Medium (Synthetic) | 300°F | 30–40 sec | Lower heat, longer time |
Nylon | Low (Nylon) | 275°F | 30–45 sec | Test first; always use a cloth |
Wool | Medium (Wool) | 300°F | 25–30 sec | Use a damp-free cloth barrier |
Silk, rayon, spandex | Not recommended | — | — | Sew or glue instead |
Leather, vinyl, PU | Do not iron | — | — | Use fabric glue or stitching |
The general rule for delicate fabrics is simple: lower the heat and extend the time. Most heat-seal adhesives activate somewhere around 270°F to 300°F, so you can still get a good bond on synthetics by pressing a bit longer at a gentler setting.
Step-by-Step: How to Iron On a Patch Without Damaging Fabric
1. Wash and dry the garment first. New clothing often has sizing or finishing chemicals that keep adhesive from bonding. Skip fabric softener, since it leaves a coating that does the same thing.
2. Preheat your iron. Set it to the right temperature for your fabric (see the chart above), with steam completely off. Give it a couple of minutes to reach a steady temperature.
3. Pre-heat the fabric. Press the spot where the patch will go for about 5 to 10 seconds. This removes moisture and wrinkles and helps the adhesive grab faster.
4. Position the patch. Lay the garment flat, place the patch adhesive-side down, and step back to check the placement. Once the glue sets, moving it is difficult. Pin it in place if needed, keeping pins outside the patch area.
5. Cover the patch. Place parchment paper or a thin cotton cloth over the patch and the surrounding fabric. This protects both the embroidery threads and your garment from direct contact with the iron.
6. Press straight down. Hold the iron firmly in place for 20 to 30 seconds using steady body weight. Don’t glide it back and forth like you’re ironing a shirt. Sliding shifts the patch and smears the adhesive. If the patch is larger than your iron, press one section, lift, and move to the next, overlapping slightly.
7. Flip and press from the back. Turn the garment inside out and press the back of the patch area for another 20 to 30 seconds (longer for denim and chenille). This step pushes heat straight into the adhesive layer and is the secret to a bond that survives the washing machine.
8. Let it cool completely. Leave the garment flat for at least a few minutes. The adhesive is still soft while warm, and tugging at an edge too soon can lift it permanently.
9. Check the edges. Once cool, run a fingernail gently around the border. If any edge lifts, cover it and press that spot again for 10 to 15 seconds.
Tips for Synthetic and Heat-Sensitive Fabrics
Can you iron patches on polyester?
Yes, with care. Polyester can develop a permanent shiny mark or even melt if the iron is too hot. Use the synthetic setting (around 300°F), always use a pressing cloth, and extend your press time rather than raising the temperature. Do a quick test on an inside seam first.
Can you iron patches on nylon?
Sometimes. Many nylon jackets have a waterproof or windproof coating that bubbles under direct heat. Use the lowest effective setting, a thick cotton pressing cloth, and short repeated presses instead of one long one. For rain jackets, puffer jackets, and anything with a coated finish, sewing or fabric glue is the safer choice.
Can you iron patches on leather?
No. Heat dries out, shrinks, and discolors leather, and the adhesive won’t bond properly anyway. Use a leather-compatible glue or have the patch stitched on.
What about stretchy fabrics?
Leggings, athletic wear, and spandex blends stretch, but the patch adhesive doesn’t. Even if it sticks at first, the edges will crack and peel when the fabric moves. Sew patches onto stretchy fabrics instead.
How to Iron Patches on Hats, Sleeves, and Curved Surfaces
Curved and hard-to-reach spots are where most people struggle. A few tricks help a lot.
For hats, stuff the crown tightly with a rolled towel so you have a firm surface to press against. A small travel iron or mini craft iron makes it much easier to reach the curve. Keep in mind that structured caps with stiff buckram fronts often bond poorly, so stitching is usually the better long-term option.
For sleeves and pant legs, slide a rolled-up towel or a sleeve board inside so you’re only pressing through one layer of fabric. This keeps the adhesive from bonding the front and back of the sleeve together.
For backpacks, empty the bag completely and stuff it with towels so the patch area sits flat and firm. Before you reach for the iron, check what the bag is made of. Most backpacks are nylon or polyester, often with a water-resistant coating and foam padding underneath, and all three can melt, bubble, or deform under high heat. Only cotton canvas bags are truly iron-friendly. For synthetic or coated bags, skipping heat is the safer choice, and our guide on how to sew a patch on a backpack breaks down the right approach for canvas, nylon, polyester, leather, and waterproof materials.
Should You Use a Heat Press Instead?
If you’re applying patches in bulk, for example on team uniforms, company workwear, or merchandise, a heat press gives more even heat and pressure than a household iron. A typical starting point for embroidered patches is around 300°F to 320°F for 15 to 20 seconds at medium-to-firm pressure, followed by a press from the back if your setup allows it. Lower the temperature for polyester and nylon garments, and always run a test piece first.
How to Wash Iron-On Patches So They Last
A great application can still fail with poor laundry habits. Follow these care tips:
Wait at least 24 hours before the first wash so the adhesive fully cures.
Turn the garment inside out.
Wash on a cold, gentle cycle.
Air dry or tumble dry on low. High dryer heat can soften the adhesive and loosen edges.
If you need to iron the garment later, iron it inside out and avoid pressing directly on the patch.
For items that get washed often, like kids’ clothes, work uniforms, and sports jerseys, add a few stitches around the edge. Iron-on adhesive is strong, but repeated washing wears it down over time.
Troubleshooting: Why Won’t My Iron-On Patch Stick?
The edges are lifting. The edges usually get less heat than the center. Cover the patch and press just the border for 10 to 15 seconds, or stitch the edges down.
The patch fell off after washing. It likely didn’t get enough heat time, wasn’t pressed from the back, or was washed too soon. Re-press it, or sew it on for permanent results.
It won’t stick at all. Check that steam was off, the garment had no fabric softener residue, and the patch actually has a heat-seal backing. Some fabrics, such as water-resistant coatings, simply resist adhesive.
There’s a shiny mark around the patch. This is mild scorching on synthetic fabric, usually caused by skipping the pressing cloth. Light shine sometimes fades after a gentle wash with a little white vinegar in the rinse, but melted fibers can’t be repaired. This is why testing first matters.
Adhesive residue is on the iron. Unplug it, let it cool slightly, and wipe the plate with a cloth dampened with a little white vinegar. Next time, always use a pressing sheet.
Common Mistakes That Damage Fabric
Using steam. Moisture weakens the bond and can cause water spotting.
Skipping the pressing cloth. Direct iron contact is the number one cause of scorch marks.
Cranking the heat on synthetics. Lower heat with longer press time is safer and just as effective.
Sliding the iron. Press straight down and lift.
Rushing the cool-down. Warm adhesive peels easily.
Washing too soon. Give it a full day to cure.
When to Sew Instead of Iron
Ironing is fast and convenient, but it isn’t always the best choice. Sew your patch if the fabric is leather, vinyl, silk, rayon, spandex, or coated nylon; if the item is a heavy-use piece like a backpack, motorcycle vest, or work jacket; or if the patch is PVC, leather, or very large.
Many people use a hybrid method: iron the patch first to lock it in position, then add a simple running stitch or whipstitch around the border. You get a clean look with the durability of sewing.
Get Patches Made for a Perfect Application
The right technique matters, but so does the patch itself. A well-made patch with a quality heat-seal backing bonds faster, stays flatter, and holds up better wash after wash. At Custom Patch House, we make custom embroidered, woven, chenille, and PVC patches with the backing that fits how you plan to use them, whether that’s iron-on, sew-on, or hook-and-loop.
Ready to create your own? [Request a free quote] and our team will help you choose the right patch and backing for your fabric.
Frequently asked questions
- How long do you iron on a patch?
- Press for 20 to 30 seconds on the front (through a pressing cloth), then another 20 to 30 seconds from the back. Thick fabrics like denim and thick patches like chenille may need 30 to 45 seconds.
- What temperature should I iron a patch on?
- It depends on the fabric. Cotton and denim can handle around 400°F, polyester about 300°F, and nylon about 275°F. Always use the highest setting your fabric’s care label allows.
- Can I use steam when ironing on a patch?
- No. Steam adds moisture that keeps the adhesive from bonding properly. Use a dry iron.
- Do iron-on patches come off in the wash?
- Not if they’re applied correctly. Press from both sides, wait 24 hours before washing, wash inside out in cold water, and avoid high dryer heat.
- Can iron-on patches be removed?
- Yes. Reheat the patch with an iron through a pressing cloth to soften the adhesive, then peel it off slowly while it’s warm. Leftover residue can usually be loosened with rubbing alcohol or an adhesive remover, but test it on a hidden spot first.
- Is it better to sew or iron on patches?
- Ironing is quicker and works well for cotton, denim, and canvas. Sewing is more durable and is the right choice for delicate, stretchy, coated, or high-wear items. For the best of both, iron first and then stitch the edges.