
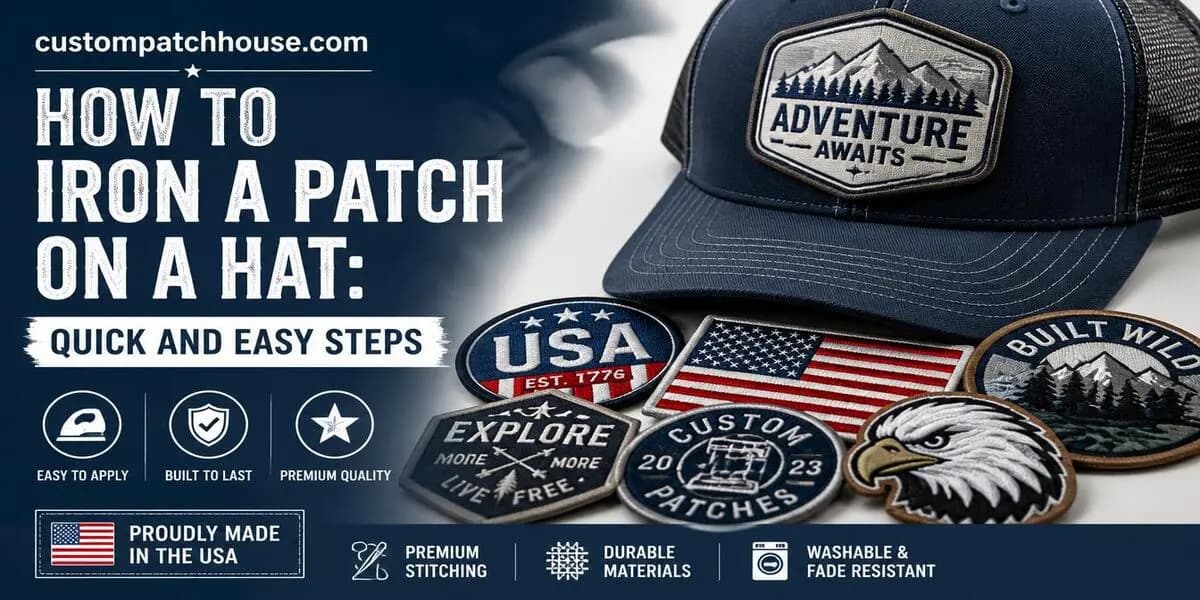
Ironing a patch onto a T-shirt is easy. It’s flat, it’s cotton, and the iron sits nicely on top.
A hat is a different story. It’s curved, it has seams in awkward places, and some caps have foam or mesh that will melt the second a hot iron touches them. That’s why so many people end up with a crooked patch, a scorched crown, or edges that peel up after the first sweaty summer day.
The good news: once you know a few hat-specific tricks, ironing a patch on a hat takes about 10 minutes and gives you a clean, professional finish. We’ve been making custom patches for caps and hats since 2010, and this is the same method we recommend to customers who apply their own patches at home.
Quick answer: How to Iron a Patch on a Hat Without Damage
Check the hat is cotton, canvas, denim, or polyester (not foam, mesh, nylon, or leather).
Stuff a rolled towel inside the hat to support the curve.
Place the patch, then cover it with a pressing cloth or parchment paper.
Set the iron to medium-high with no steam (about 270–300°F for cotton).
Press firmly for 20–30 seconds without sliding the iron.
Let it cool for 2 minutes, then check the edges and re-press any that lift.
Wait 24 hours before wearing it in the rain or washing it.
What You’ll Need
A household iron with the steam turned off (a mini craft iron is even better for hats)
A pressing cloth: a thin cotton tea towel, pillowcase, or a sheet of parchment paper
A hand towel or T-shirt to roll up and stuff inside the hat
An iron-on patch (it should have a shiny, slightly plastic-feeling adhesive layer on the back)
A firm, heat-safe surface: a sleeve board, the narrow end of an ironing board, or a tailor’s ham
Optional: pins or heat-resistant tape to hold the patch in place
Before You Start: 3 Quick Checks
1. Can Your Hat Handle Heat?
This is the most important check, and it’s the one most people skip. Look at the care label inside the hat, then compare it with this table:
Hat Type | Can You Iron On a Patch? | Notes |
Cotton twill baseball cap / dad hat | Yes | The easiest hat to work with |
Denim cap | Yes | Holds heat well, great results |
Canvas bucket hat | Yes | Flatter panels make it easier |
Polyester or performance cap | Carefully | Lower heat, always use a cloth (see our guide to iron on patches on polyester) |
Wool or wool-blend cap | Carefully | Lowest heat and a thick cloth, or sew instead |
Trucker hat (foam front) | No | Foam melts and dents under an iron |
Trucker hat (mesh back) | No | Adhesive has nothing to grip, and mesh melts |
Knit or acrylic beanie | No | Acrylic melts and the knit stretches; sew a patch on a beanie instead |
Nylon, leather, suede, or straw | No | Heat damages them; sew or use a hook-and-loop panel |
If your hat says “do not iron,” believe it.
2. Is Your Patch Actually Iron-On?
Turn the patch over. An iron-on patch has a smooth, shiny adhesive coating on the back. If the back is plain fabric, the patch is sew-on only, and no amount of heat will make it stick.
Some patch types shouldn’t be ironed even if they have adhesive:
PVC rubber patches can warp or soften under direct iron heat. Sew them or use hook-and-loop.
Leather patches can shrink, darken, or crack.
Chenille patches can lose their fluffy texture.
Not sure which backing you have? Our guide to patch backing types explains each one.
3. Pick Your Spot (and Avoid the Center Seam)
Most baseball caps are made from six panels, and many have a seam running right down the middle of the front. A patch placed over that seam won’t sit flat, and the adhesive can’t grip in the groove.
Better options:
Front center, on a “5-panel” or seamless-front cap, which gives you a smooth, flat surface
Slightly off-center on one front panel, for a modern look
The side panel, for a small, subtle patch
The back, above the strap, for a hidden detail
Hold the hat at arm’s length or check it in a mirror before you press. Once the adhesive melts, moving the patch is difficult.
Structured vs Unstructured Hats: Why It Matters
Structured caps (like most snapbacks and fitted caps) have a stiff inner layer called buckram behind the front panels. They hold their shape on their own, which makes them easier to press, but you can only press from the outside.
Unstructured caps (like dad hats and bucket hats) are soft and floppy. They need more support underneath, but you can sometimes reach inside and press from the back of the fabric, which gives an even stronger bond.
Step-by-Step: How to Iron a Patch on a Hat
Step 1: Preheat the Iron (No Steam)
Set your iron to medium-high, around 270–300°F (132–149°C) for cotton, denim, and canvas. For polyester, drop to the synthetic setting. Empty the water tank or switch off steam completely, because moisture stops the adhesive from bonding.
Give the iron 2–3 minutes to reach an even temperature.
Step 2: Support the Curve
Roll up a hand towel or T-shirt tightly and push it inside the crown until the area you’re pressing feels firm. You want a solid surface underneath the patch, without flattening the hat’s shape.
For structured caps, a tailor’s ham or the narrow end of an ironing board works well. Slide the hat over it, so the front panel rests on top.
Step 3: Position and Secure the Patch
Place the patch, adhesive side down. Check it’s straight. If you’re worried it will slide, hold it with a couple of pins along the edge (not through the middle) or a small piece of heat-resistant tape.
Step 4: Cover with a Pressing Cloth
Lay your pressing cloth or parchment paper over the patch. This protects the embroidery threads from scorching and stops shiny marks on the hat fabric.
Step 5: Press, Don’t Iron
Press the iron straight down onto the patch with firm, steady pressure for 20–30 seconds. Don’t slide it back and forth like you’re ironing a shirt. Sliding shifts the patch and spreads heat unevenly.
If the patch is larger than your iron, or the crown curves a lot, press in sections: center first, then each edge, overlapping slightly. Use the tip of the iron to reach edges near the brim.
Step 6: Press from the Inside (Unstructured Hats Only)
If you can reach the back of the fabric, turn the area inside out as far as it goes, cover it with your cloth, and press for another 10–15 seconds. This pushes heat straight into the adhesive from behind. Skip this on structured caps.
Step 7: Cool, Then Check
Let the patch cool for about 2 minutes. The adhesive sets as it cools, so don’t touch or bend the hat yet.
Then gently run a fingernail along the edges. If any corner lifts, cover it again and press that spot for 10–15 seconds. Repeat until every edge is flat.
Then wait 24 hours before washing the hat or wearing it in rain or heavy sweat. The bond keeps strengthening as it cures.
How to Iron on a Curved Crown (Tricks That Actually Work)
The curve is the hardest part of ironing a patch onto a hat. Here’s what helps:
Use a mini iron. Small craft or quilting irons are made for curves. They’re the single best tool for this job.
Work in small sections. Rock the iron slightly as you press each section, so the soleplate follows the curve.
Pack the crown firmly. A loose towel lets the fabric sink under the iron, which is why patches fail on curved hats.
Try a flat iron (hair straightener) on small patches. Clamp it around the patch area, with your cloth on the outside, and hold for 15–20 seconds. It works well on unstructured caps, but go slowly near seams.
Using a Heat Press or Hat Press
If you’re applying patches to more than a few hats, for example for a team, small business, or merch brand, a hat press gives more even, professional results. A typical starting point for heat seal patches is:
Temperature: 300–320°F (149–160°C)
Time: 15–20 seconds
Pressure: medium to firm
Always follow the patch maker’s instructions and test on a spare hat first. Settings vary by adhesive and hat fabric.
From our production team: “On our own hat press, we run heat seal patches at [X]°F for [X] seconds with medium pressure. At home, most people don’t press long enough. If you think 20 seconds is enough, go for 30.”
Dan, Production Manager, Custom Patch House
Troubleshooting: Common Problems and Fixes
The patch won’t stick at all.
The iron is probably too cool, the press too short, or steam is still on. Turn up the heat slightly, empty the water tank, and press for the full 30 seconds. Also check the patch really has adhesive on the back.
The edges keep lifting.
The edges get less pressure than the center on a curved surface. Use the tip of the iron to press each edge separately for 10–15 seconds, then let it cool fully before checking again.
The patch is puckered or wrinkled.
The towel inside the hat was too loose, so the fabric moved under the iron. Re-stuff the crown firmly and re-press.
There’s a shiny mark on the hat.
That’s heat glazing from direct contact. Next time, always use a pressing cloth. A light brush with a soft clothes brush can reduce the shine on cotton.
Glue is seeping out around the edges.
Too much heat or too much pressure. Let it cool, then gently peel off the excess adhesive once it’s hard.
The patch is crooked.
Reheat it through your cloth and peel it off while the adhesive is warm. Our guide to remove iron-on patches explains how to do this safely and clean off leftover glue.
For more general heat tips, read how to iron on patches without damaging fabric.
How to Make an Ironed Patch Last
Hats go through a lot: sweat, sun, rain, and constant handling of the front panel. Here’s how to keep your patch secure:
Hand wash only. Use cool water and a mild detergent, and gently scrub around (not over) the patch.
Skip the dryer and dishwasher. The heat can soften the adhesive and warp the brim.
Air dry on a form. A balled-up towel or a coffee can keeps the hat’s shape while it dries.
Don’t leave it in a hot car. Dashboard heat can loosen adhesive over time.
Add a few stitches. For a patch you want to keep for years, stitch around the edge after ironing. Iron-on alone is convenient, but sewing is always stronger on a hat that gets worn every day.
When to Sew Instead of Iron
Ironing is the quick, easy option. But sewing is the better choice when:
The hat is foam, mesh, nylon, wool, leather, or knit
The patch is PVC, leather, or chenille
The hat will be worn hard: work hats, sports caps, outdoor gear
You want the patch to survive years of sweat and washing
Our step-by-step guide shows how to sew a patch on a hat by hand, even if you’ve never sewn before.
Need Patches Made for Your Hats?
If you’re putting a logo on hats for your business, team, or brand, it helps to start with patches made for the job. Our iron-on patches come with a strong heat seal backing that bonds cleanly to cotton and polyester caps. If you’d rather skip the ironing altogether, we also make custom caps and hats with your logo embroidered directly on the front.
Explore all our custom patches, with no minimum order, a free digital proof, and free shipping across the USA.
Frequently asked questions
- Can you iron a patch on a baseball cap?
- Yes. Cotton and cotton-twill baseball caps are the easiest hats to iron patches onto. Stuff the crown with a rolled towel, cover the patch with a cloth, and press firmly for 20–30 seconds with no steam.
- What temperature should I use to iron a patch on a hat?
- Use medium-high heat, about 270–300°F (132–149°C), for cotton, denim, and canvas hats. Use the lower synthetic setting for polyester hats, and always use a pressing cloth.
- Can you iron a patch on a trucker hat?
- Not on the foam front or the mesh back. Foam melts and dents, and mesh gives the adhesive nothing to grip. Sew the patch onto the front panel instead, or choose a trucker hat with a cotton front.
- How long does an iron-on patch last on a hat?
- With hand washing and no dryer, an iron-on patch can last for years on a cotton hat. Adding a few stitches around the edge makes it last much longer, especially on hats you wear every day.
- Can I iron a patch on a beanie?
- It’s not recommended. Most beanies are acrylic or wool knit, which can melt or stretch under heat. Sewing is the better method for beanies.
- Can I use a hair straightener to iron a patch on a hat?
- Yes, for small patches on soft, unstructured hats. Clamp it around the patch with a cloth on the outside, and hold for 15–20 seconds. It’s useful on tight curves where a regular iron won’t sit flat.
- Why did my patch fall off after washing?
- Usually it’s because the adhesive didn’t fully bond (too little heat or time), or the hat was washed too soon or put in the dryer. Wait 24 hours after ironing, hand wash in cool water, and air dry.